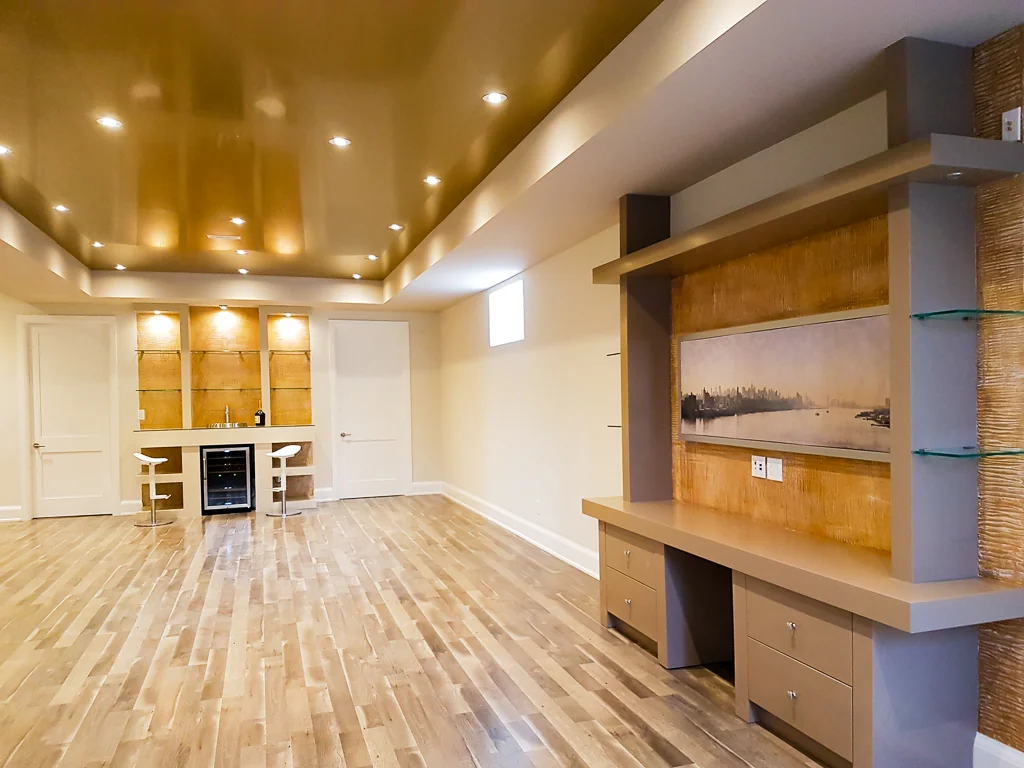
When you dive into basement renovation and decide to finish your basement, it can seem overwhelming. In this article, we break down the 9 steps needed to transform your unfinished basement into a beautiful new space.
Basement finishing can be a DIY project but is typically best left to professional renovation contractors. A contractor will guide you through the process, help with design and budget, and ensure the project stays on schedule. The budget will determine the specific cost of finishing your basement.
Follow these 9 steps, and you'll have the basement of your dreams in no time.
Step 1: Clean Your Basement
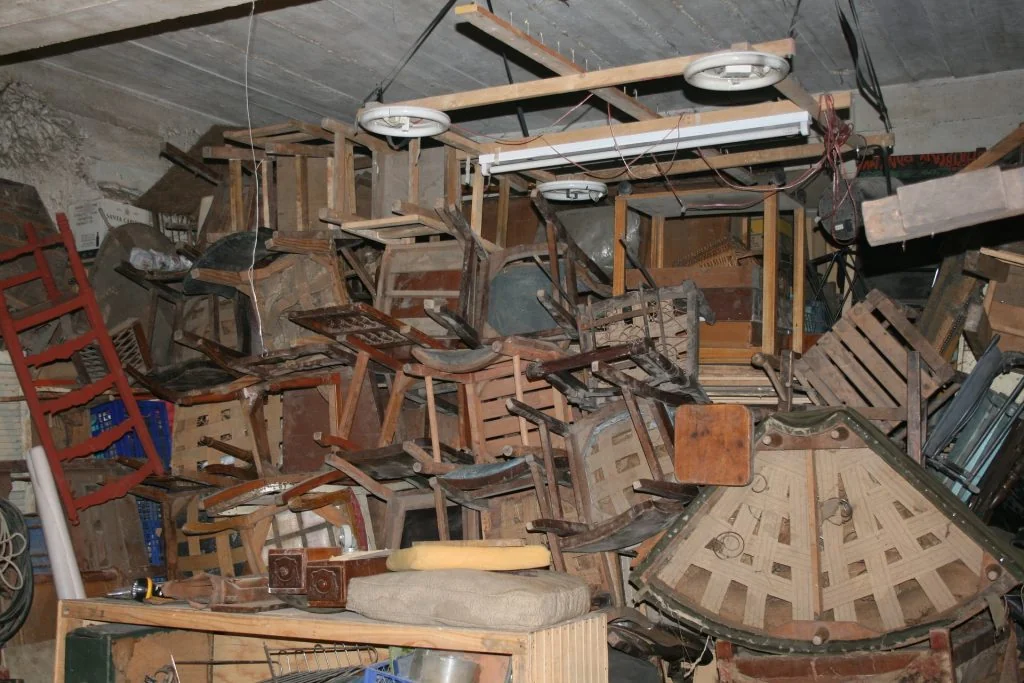
Remove all clutter from your basement to prepare for finishing. You may consider hiring professional cleaners for this first step, but it’s not necessary. A clean basement includes:
- Sweeping, mopping, or waxing floors
- Carpet cleaning if applicable
- Dusting
- Window washing if needed
- Removing unwanted furniture or clutter
Step 2: Moisture Test Your Basement
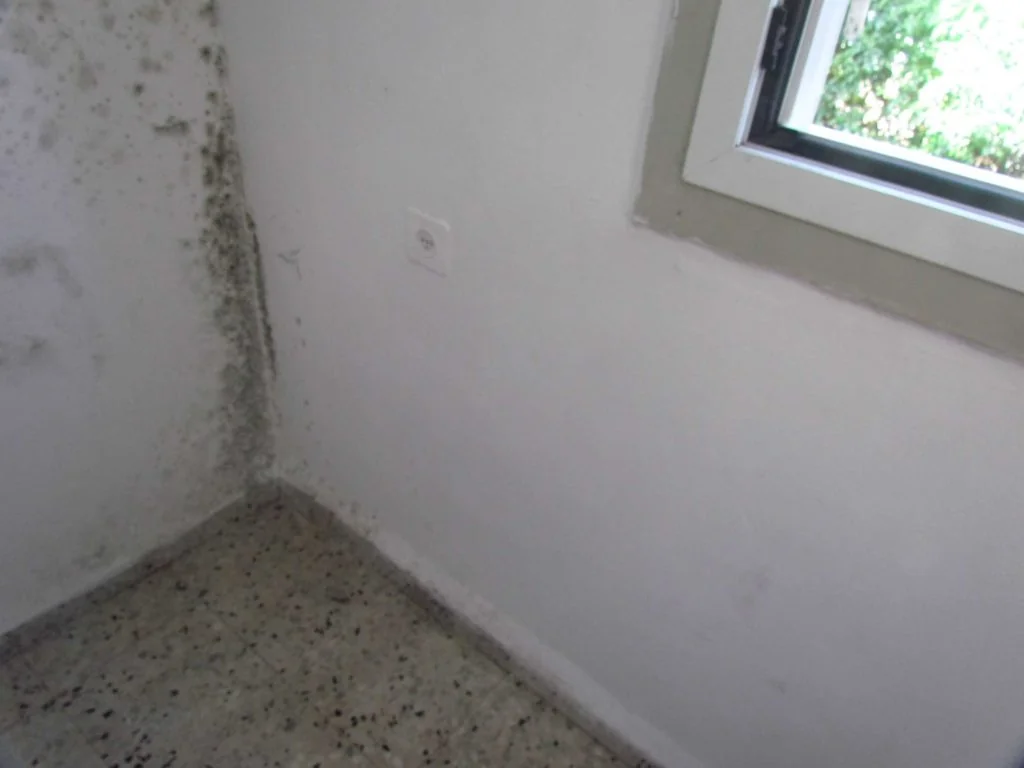
Test your basement for moisture to prevent future issues. A comfortable moisture level is between 30 and 50 percent. The process is simple:
- Tape a piece of plastic or tin foil onto your basement floor.
- Seal around the edges and leave it for several days.
- If you see moisture on the exposed surface, it’s a sign of condensation.
Step 3: Research Local Basement Finishing Bylaws and Permits
Ensure you follow local regulations for basement renovations. Your contractor can help with this, but if you’re going the DIY route, you can find the necessary bylaws and permits online.
Step 4: Gather Basement Finishing Tools and Materials
To complete the job, you'll need the right tools and materials. These include:
- Laser level
- Measuring tape
- Wood or metal studs
- Framing square
- Speed square
- Hammer
- Carpenter pencils
- Safety glasses
- Dust mask
- Sill gasket
- Paint and primer
- Paintbrushes
- Cleaning tools and supplies
- Permits
- Power saw
- Drill
- Power miter saw
- Air compressor
- Nail gun
Step 5: Install Basement Insulation
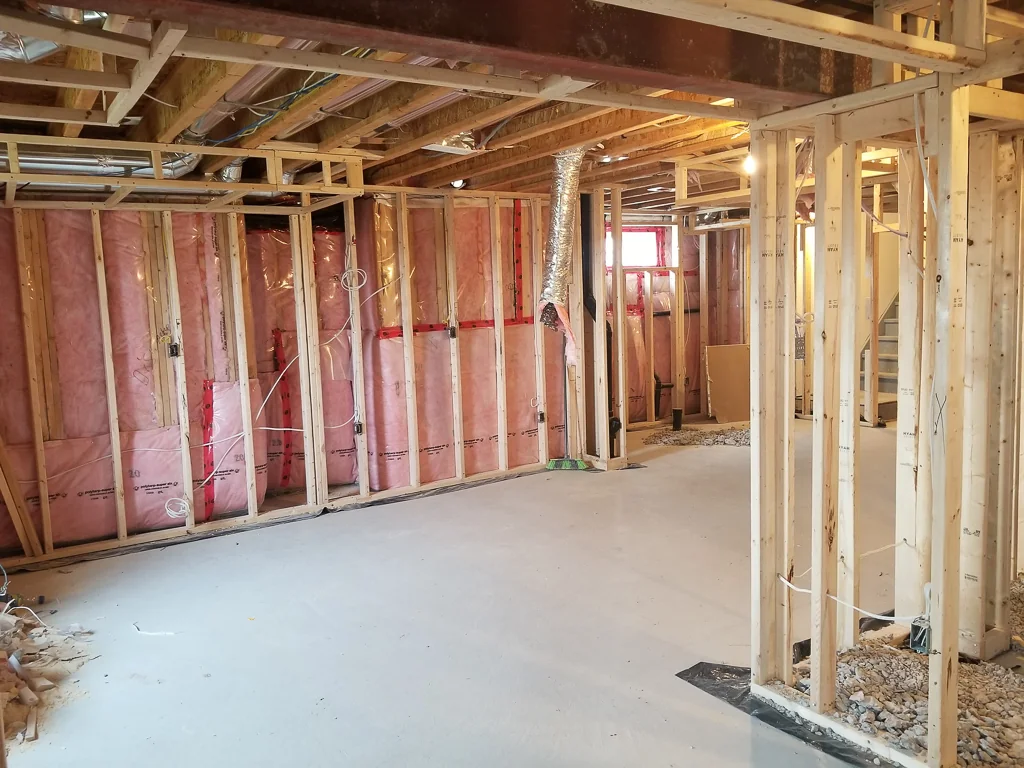
Insulate your basement walls to keep the cold air out and warm air in. Basements can account for up to 20% of heat loss in a home. Installing insulation will significantly improve energy efficiency. Many basements lack insulation, so it’s an area where improvement can make a big difference.
To begin insulation, you’ll move on to step 6: basement framing.
Step 6: Frame Basement Walls
Framing a basement wall is simpler than you might think. Start by building a standard wall frame using studs placed 16” or 24” apart. This will allow you to cut insulation material to fit comfortably between the studs.
Make sure to cover the band joints to prevent heat from escaping.
Once the studs are up and insulation is in place, add a vapor barrier and proceed to the next step.
Step 7: Install Drywall
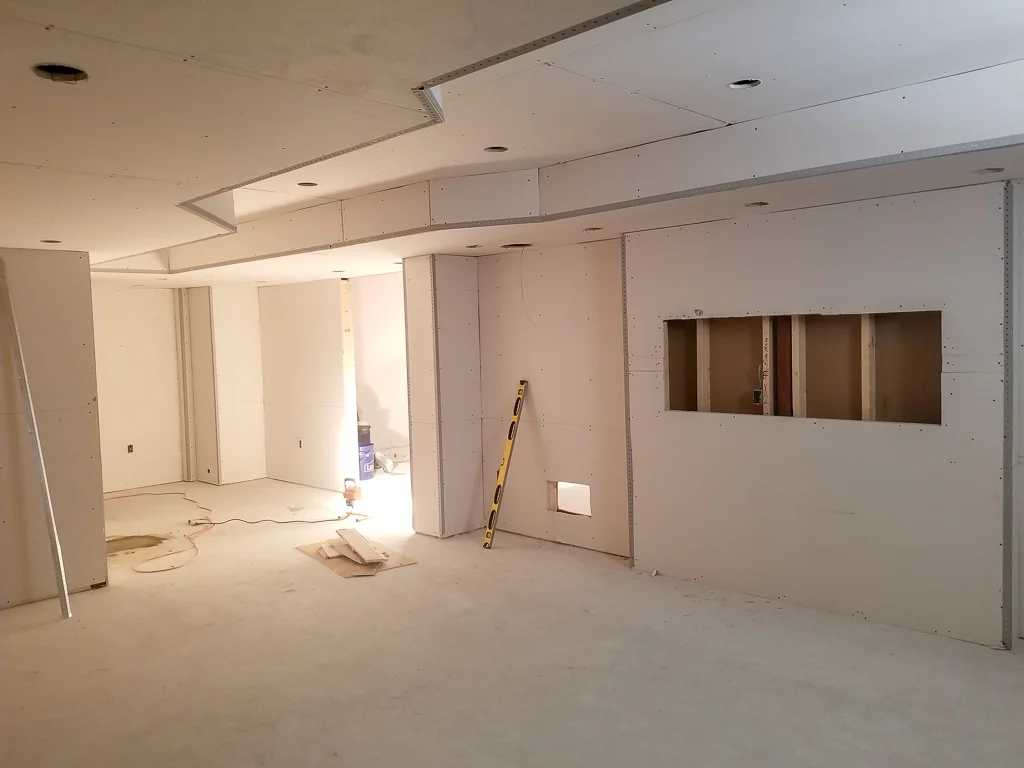
While installing drywall is best left to a professional, you can tackle it yourself with the right preparation. Install ‘spacers’ and cover all outlets and windows before applying drywall. Attach the drywall to the basement wall panels, ensuring it’s secure.
Step 8: Install Basement Flooring
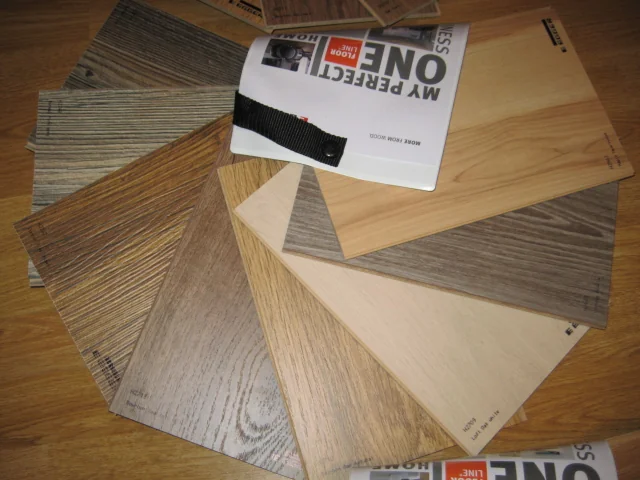
When choosing a material for your basement floor, avoid wood or natural materials that can warp due to moisture. Ceramic tile is a great option and can be installed directly on top of concrete. Glue-down vinyl tiles are another durable choice.
If you want a more slated look, you can use self-leveling concrete for an even surface.
For best results, consider hiring a professional to ensure a flawless installation.
Step 9: Install Basement Ceiling
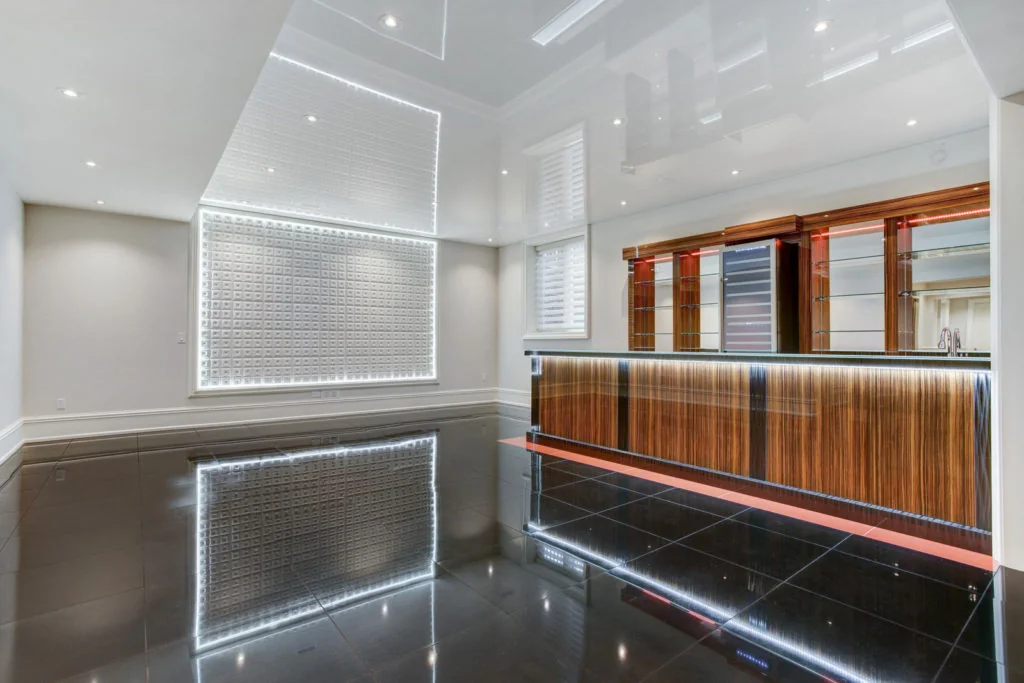
Most homeowners opt for a higher ceiling when finishing their basement. Attaching a material directly to the ceiling beams will save you time and money. Materials to consider include:
- Beadboard
- Corrugated metal
- Drywall
- Painted exposed beams and pipes
- Wooden panels or planks
- PVC tiles
These materials are easy to find at any hardware store and are simple to apply to the ceiling beams. Swipe Right to Rent the Tools for This Project and start turning your basement renovation dream into reality!
